What is image resolution?
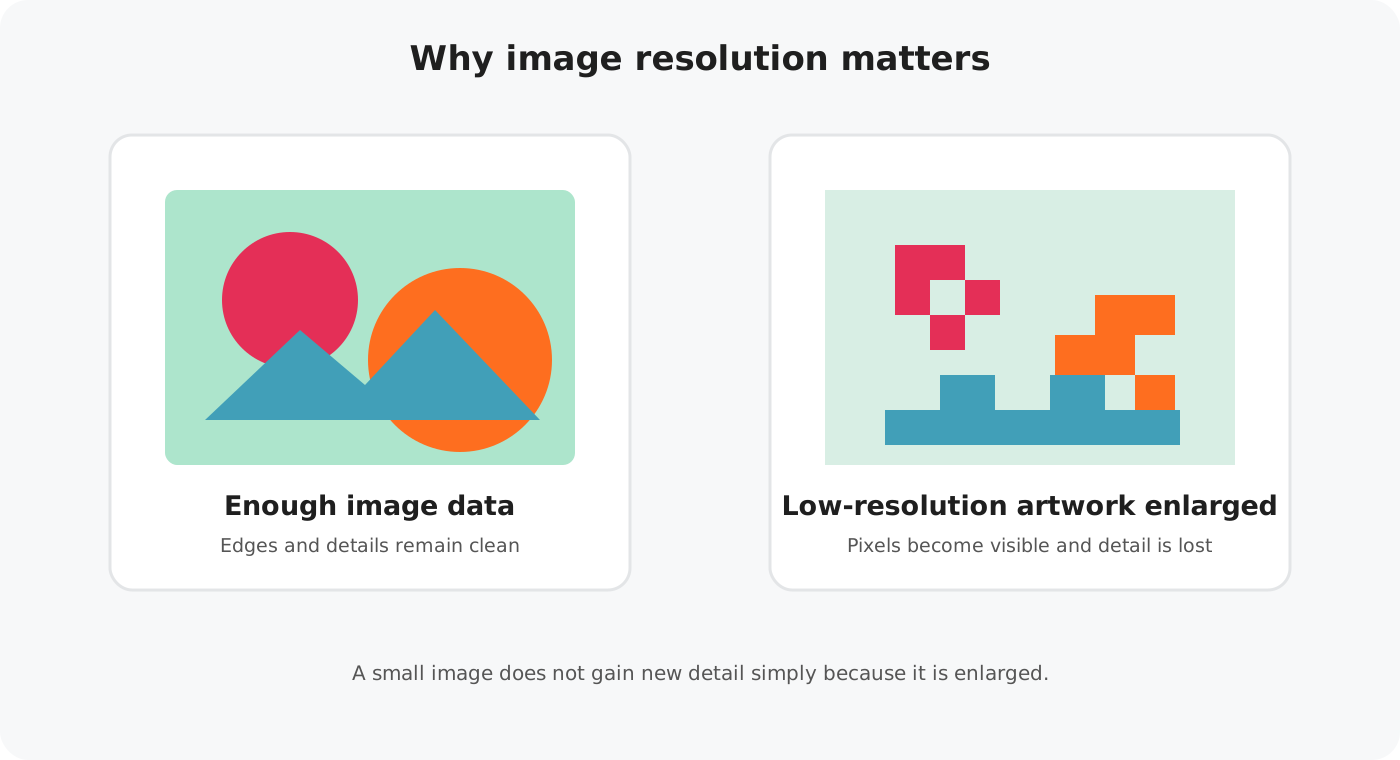
Digital artwork is made from pixels. Image resolution describes how much image information is available to reproduce your design at a particular size.
A small image may look perfectly acceptable on a phone or computer screen. If that same image is enlarged to fill a greeting card, however, there may not be enough detail available for a clean printed result.
What does 300 DPI mean?
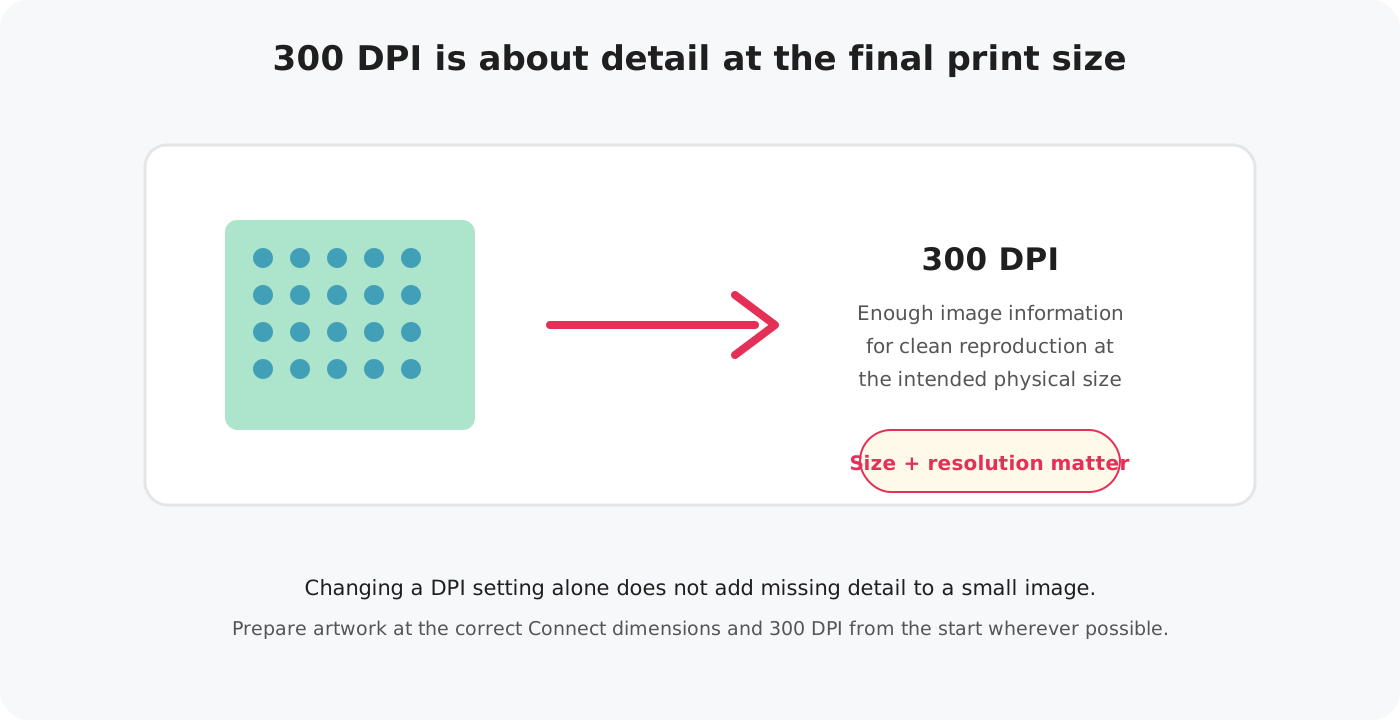
DPI means dots per inch. In everyday artwork preparation, 300 DPI is commonly used to describe the level of image detail needed for high-quality print at the intended physical size.
For Connect, prepare your artwork at the correct physical artwork dimensions and 300 DPI. Both parts matter. A file being labelled “300 DPI” does not automatically mean it contains enough image information.
Use the correct Connect artwork size
The safest way to prepare your artwork is to create the document at the correct Connect dimensions from the start and set it to 300 DPI.
Artwork size:
306 × 156mm
at 300 DPI
Artwork size:
216 × 154mm
at 300 DPI
Artwork size:
303 × 216mm
at 300 DPI
Keep the exact aspect ratio of the Connect artwork size. Avoid independently rounding width and height from a millimetre-to-pixel conversion, as even a very small difference can cause the artwork proportions to differ from the size Connect expects.
Our Canva templates are already set to the correct artwork proportions, which can make this easier if you are creating your designs in Canva.
Why can't I just enlarge a small image?
When a low-resolution image is enlarged, the software has to spread the existing image information over a larger area. The image becomes bigger, but the original detail is not restored.
This can result in soft edges, visible pixels or blurry text and illustrations when printed.
Simply changing a file from 72 DPI to 300 DPI does not magically add detail. The artwork needs enough original image information for its intended print size.
Watch individual images inside your design
Your overall document can be the correct size and resolution while an individual photo, illustration or graphic inside it is still too small.
For example, placing a small web image into a large 300 DPI document and stretching it across the card will not make the original image high resolution. Always start with the best-quality source artwork available.
Why can low-resolution artwork look fine on screen?
Screens often display artwork at a smaller physical size than it will be printed, which can hide softness and pixelation. Zooming out can make a low-resolution image appear sharper than it really is.
For this reason, do not rely only on how the whole card looks on screen. Check the quality of the original images and artwork you have used as well.
Before you upload your artwork
Use this quick resolution checklist before adding a design to Connect.
The simple rule to remember
Start with enough image detail at the correct print size. Making a small image bigger does not make it higher quality.
Preparing your artwork at the correct Connect dimensions and 300 DPI from the start gives you the best foundation for a clean printed result.
Read the Upload Artwork Guide