
What this guide will help you do
Follow the steps below to complete the task confidently and check that everything is working as expected.
Install the Connect app through Shopify.
Sync eligible orders into Connect.
Review artwork, delivery and place the order.
Before you start
These quick checks will help you avoid the most common setup problems.
You’ll need access to the store you want to connect.
Automatic matching works best when artwork already exists in Connect.
Shopify and Connect SKUs should match exactly.
Envelope and delivery defaults speed up processing.
Connect Shopify
Open the Link Store page
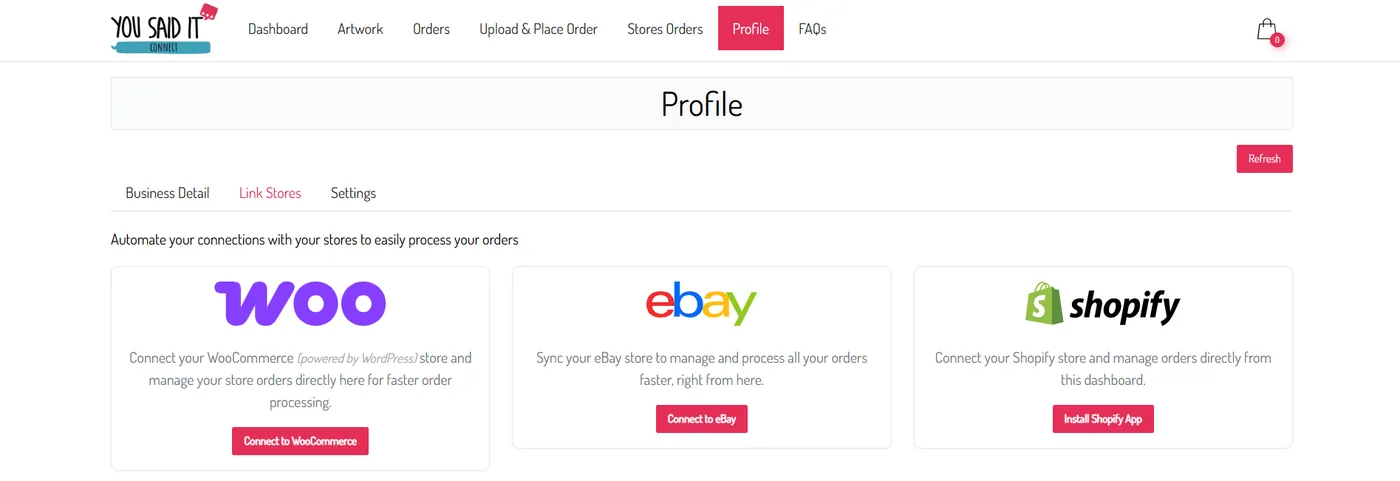
From your Connect dashboard, open Profile and select Link Store.
Install the Shopify app
Click Install Shopify App. You’ll be taken to Shopify to choose which store should be connected.

Select your Shopify store
Choose the correct store and approve the app installation. Shopify will then return you to Connect.
Sync and open orders
Open Store Orders
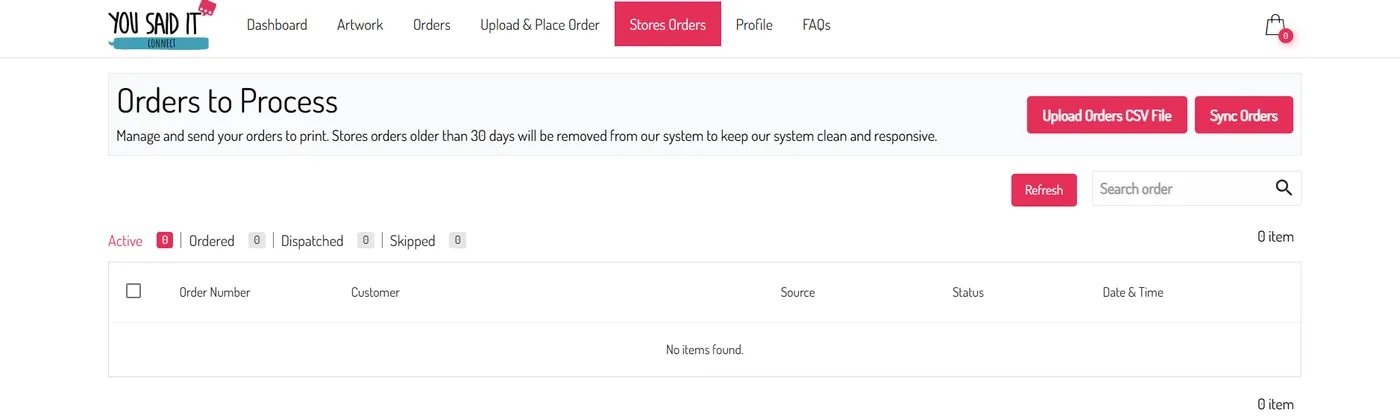
In Connect, choose Store Orders from the top menu.
Sync your orders
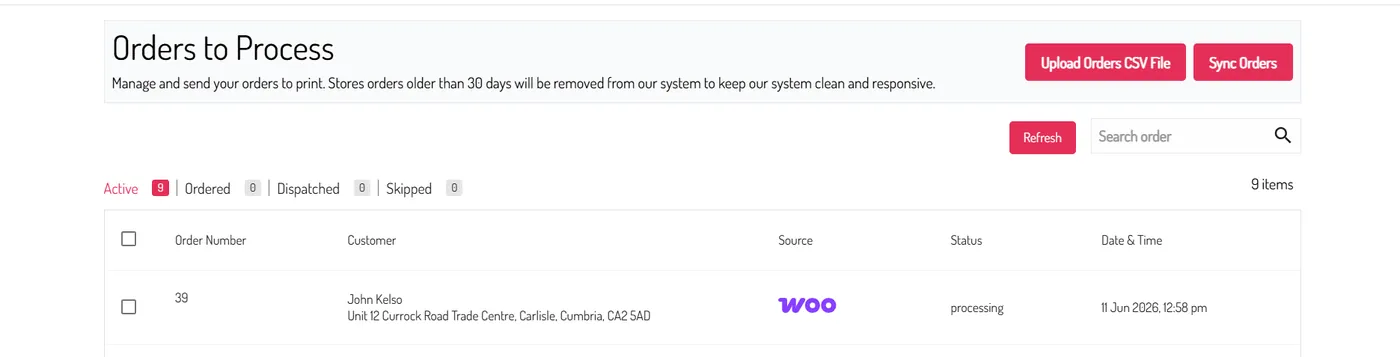
Click Sync Orders to import eligible processing orders.
Check its status in Shopify, wait a few minutes and sync again.
Open an order
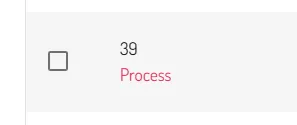
Hover over the order number and click Process.
Check and fulfil the order
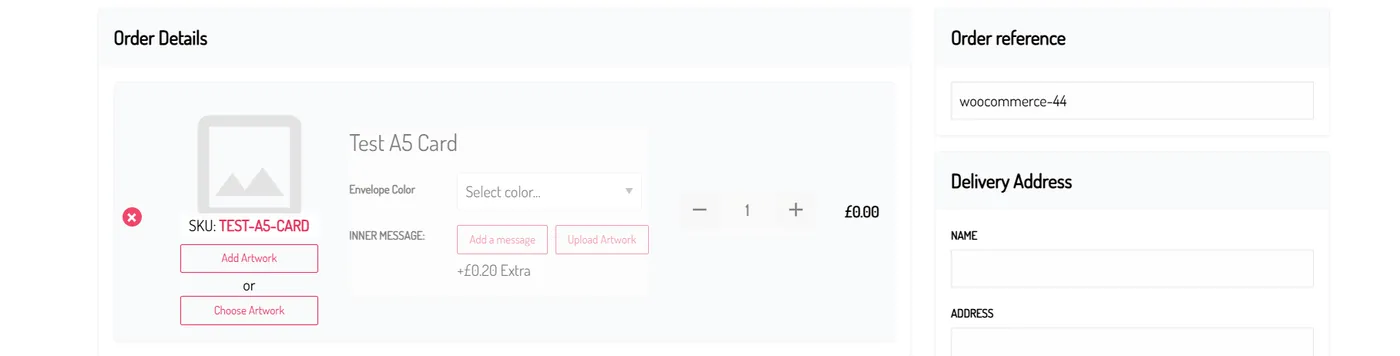
Confirm the artwork
Matching SKUs allow Connect to select uploaded artwork automatically. If no match is found, choose or upload the correct artwork manually.
Confirm that the artwork matches the product ordered before printing.
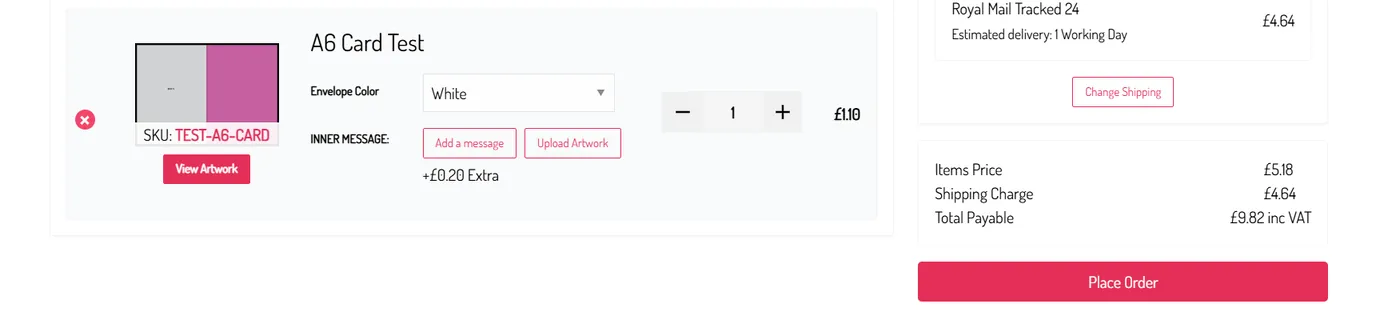
Review and place the order
Check the envelope colour, postage and total, then click Place Order.
Remove or skip items
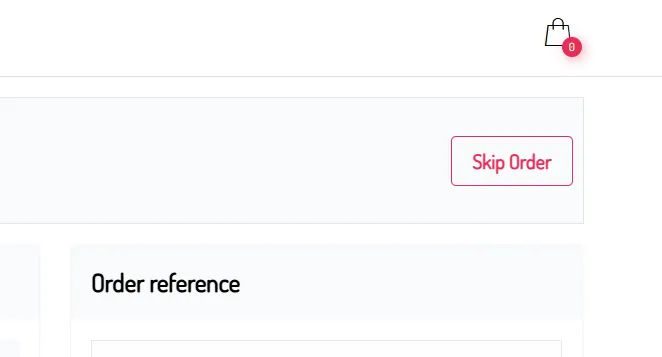
Use the red X for a non-card item. Use Skip Order when the whole order should not be fulfilled through Connect.
Helpful tips
Identical SKUs help Connect choose the correct artwork.
Check artwork, address, envelope and postage.
A new processing order may take a few minutes to appear.
Skip only when the whole order should not be fulfilled.
You’re ready
Before moving on, check that each of these is complete.