
What this guide will help you do
Connect gives you two ways to add an inner message: create it in the built-in editor or upload your own ready-made inner-message artwork.
Type your message and choose the font and colour.
Use a prepared file instead of creating the message in Connect.
Choose whether the finished card should be placed inside its coloured envelope.
Add a message using the editor
Open the inner message editor
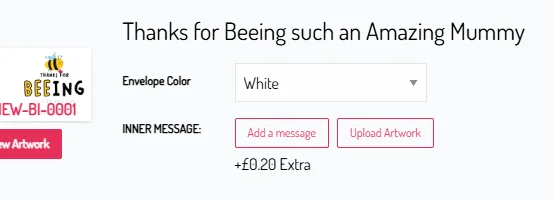
On the Cart page, find the card you want to personalise and click Add a message.
Create your message
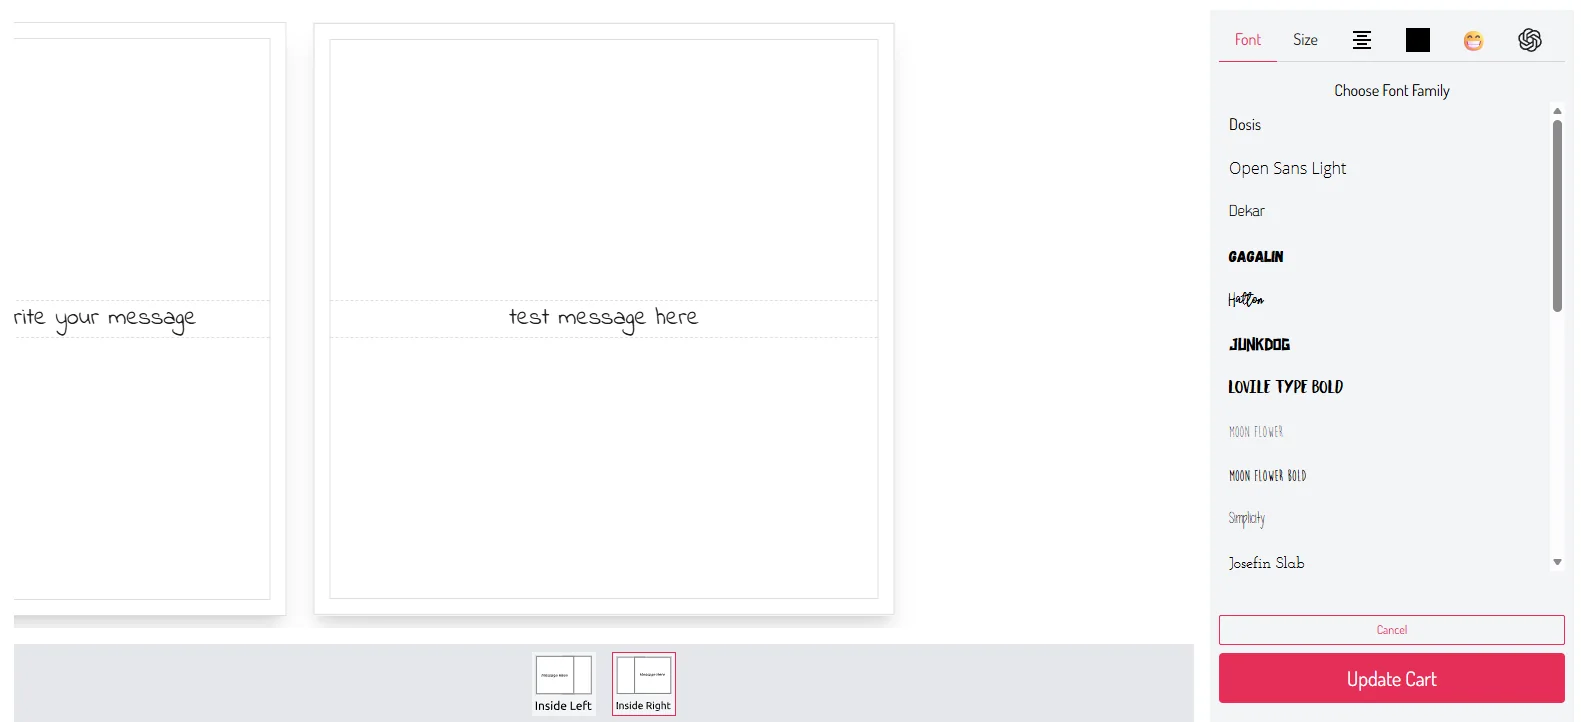
The editor opens in a pop-up. Add text to either or both inside pages, then use the controls to change the font, size and colour.
Update your cart
When you’re happy with the message, click Update Cart to save it to the order.
Sending the card directly to the recipient
If the order is being sent straight to the person receiving the card, select Yes under Place Inside Coloured Envelope.
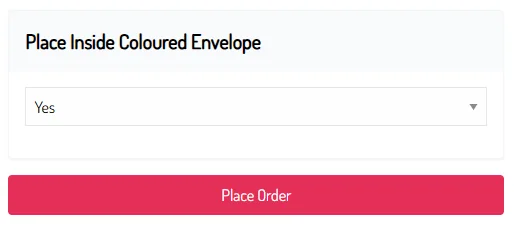
If you want the card placed inside its envelope, make sure you change this option to Yes before placing the order.
Upload your own inner-message artwork
Choose Upload Artwork
On the Cart page, click Upload Artwork next to the inner message options.
Upload and confirm
A pop-up will appear. Upload your inner-message artwork, check the correct file has been selected and click Confirm.
Place the order
Once the artwork has been added, finish checking the order details and place the order as normal.
You’re ready
Before placing the order, check that each of these is complete.